ramonn90
Tips on How to Paint Metal - Let's Make an Armor!
Published: July 16th 2024, 6:46:38 pm
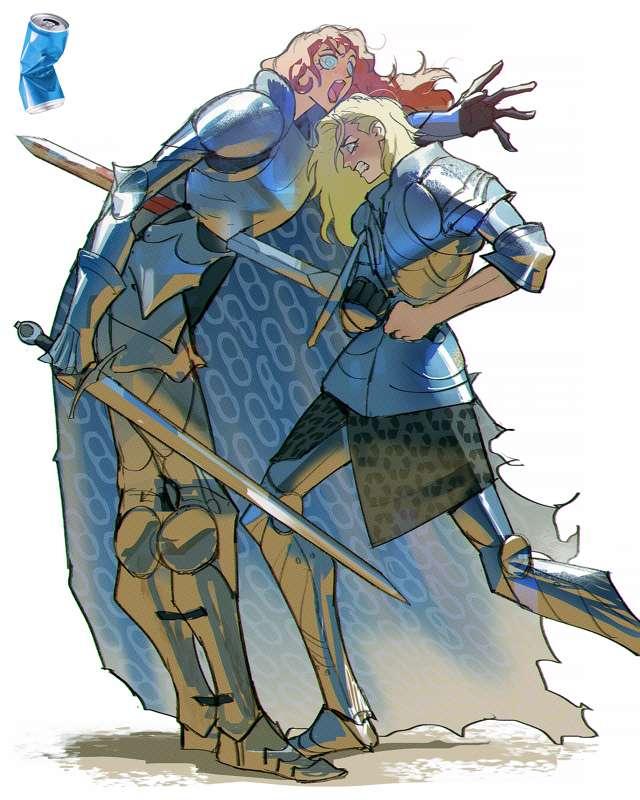
Hey everyone! In today's post, I want to briefly explain how I paint metal, specifically armor metal. Let's dive in.
Shape
The difficult thing about metal is not precisely the lighting or colors but the shapes in which these values and colors will be positioned. For a quick reference, let's use a sphere as an example and by the end of the article, we'll use more complex options.

Color
This particular sort of metal often reflects blue, brown, and green tones, based on the settings knights are often placed in. Since metal acts as a mirror of this environment, imagine that you are actually painting a landscape within the shape. This reflection will predominantly position the browns or green tones below and blue and grey tones on top.
Both tones are very similar, so I create a gradient with a brighter blue that goes from the horizon to the top.
Finally, I add darker brown shapes that correspond to elements on the horizon, a bit distorted based on the sphere shape.

Values
In terms of values, this particular grey of metal we are using for the armor allows it to reflect the environment almost exactly. Like I mentioned earlier, the bluish tones will be similar to the tones in the ground, but it all depends on the set in which the metal is. Brighter or darker armors will have a total reflection based on the base. I recommend instead of creating layers on top with blending modes, simply opt for using "levels." It's easier and you avoid missing bright and dark tones.

Last but not least, a very bright and almost white highlight will pop that metal in a small portion of the overall shape. I'll recommend you not make the characteristic shadow spheres have inside their form. This is because often these materials are copies of the environment, and when extra dark tones are added that do not represent the landscape, it tends to deliver that three-dimensional look but kind of loses the reflection, in my opinion.

.
Different Shapes
How would these values and colors be affected by different forms of the shapes? Let's make some applications to very distinctive armor parts that cover key body parts like the head, arms, or torso. The trick to this is to remember that these can be translated into very simple geometric shapes. The way I recommend you to study is to choose one of these armor parts from a reference and simply transform it into a geometric shape like this:

The point is not to make an exact copy of the armor as I've seen many artists do. This will not allow you to understand what I just explained to you. The end goal is for you to successfully create mirrors defined by these shapes. After a while you will notice that they are simple spheres and cones with pointed edges.
If painting armors is your thing, drop a quick practice in our challenge channel on Discord and win 20 Skill Points! Practice makes perfect!
Here are some nice references:
https://www.pinterest.com/pin/703756175891758/
https://www.pinterest.com/pin/23855073011066541/
https://www.pinterest.com/pin/15270086235115416/
https://www.pinterest.com/pin/488922103309076042/
https://www.pinterest.com/pin/487092515963322005/
https://www.pinterest.com/pin/8585055525476624/
.
This Friday, I'll be sharing the process video of this piece along with the files and insights. They will be available for Mastering Maestro tier and above. Feel free to upgrade if you want more insights about my work.
Welcome to all new patrons! Feel free to drop any questions here in the comments, via DMs on Patreon, or in our Discord group. I'll be more than happy to answer and track your progress.
For more information, check out our Patreon FAQ: https://ramonn90.myportfolio.com/faq and Patreon Catalogue: https://ramonn90.myportfolio.com/work
Thank you for your support.